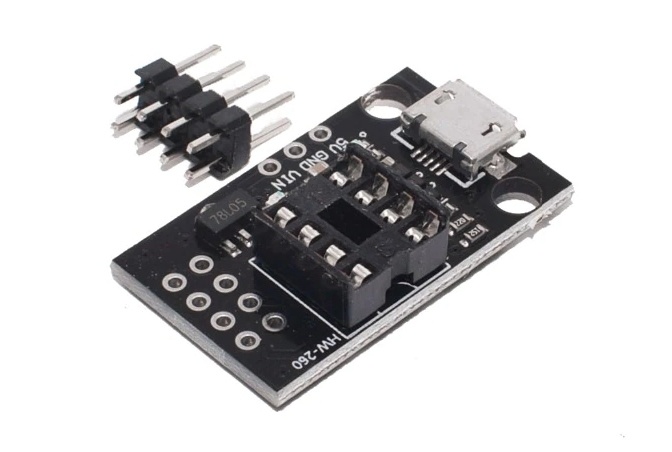
알리를 통해 구매한 ATtiny85 개발보드(HW-260)
DIP 타입의 ATtiny85 에 Micronucleus 부트로더를 올리고 USB를 연결하여 Arduino IDE 에서 쉽게 사용할 수 있었다. (베어 ATtiny85 는 Adafruit Trinket 이나 Digistump Digispark (둘 다 이미 Micronucleus가 있음)와 다르게 부트로더가 없기 때문에 이와 같이 개발하려면 먼저 부트로더를 올려야한다.)
#define LED_BUILTIN 1

// the setup function runs once when you press reset or power the board
void setup() {
  // initialize digital pin LED_BUILTIN as an output.
  pinMode(LED_BUILTIN, OUTPUT);
}

// the loop function runs over and over again forever
void loop() {
  digitalWrite(LED_BUILTIN, HIGH);   // turn the LED on (HIGH is the voltage level)
  delay(1000);                       // wait for a second
  digitalWrite(LED_BUILTIN, LOW);    // turn the LED off by making the voltage LOW
  delay(1000);                       // wait for a second
}
보드에는 제어가능한 LED가 하나 있어서 Blink 예제를 바로 실행해 볼 수 있다.