QML에는 Grid, Row 및 Column 외에도 앵커 개념을 사용하여 아이템을 상대적으로 배치하는 방법을 제공한다. 이 앵커링 시스템을 사용하면 서로 다른 아이템의 앵커 라인 간의 관계를 정의할 수 있다. 다시말해 하나의 아이템은 다른 아이템(부모 아이템 또는 형제 아이템)을 기준으로 앵커 라인에 배치할 수 있다.
각 아이템에는 앵커 라인이라고 하는 7개의 가상 라인이 있으며 아래 이미지는 그 중 6개를 나타낸것이다.
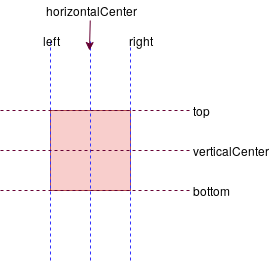
7번째 앵커인 baseline 은 텍스트 아이템의 텍스트가 놓이는 가상의 선이다. g나 y와 같은 문자의 경우 디센더가 baseline 아래로 내려간다. 텍스트가 아닌 아이템의 경우 top과 동일하다.
이 7개의 앵커 라인 속성 중 하나를 사용하여 항목을 배치할 수 있다.
다음의 간단한 예제에서 rect2의 왼쪽 가장자리는 rect1의 오른쪽 가장자리에 바인딩된다.
...
// width, height 등의 속성 정의가 생략되었다.

Rectangle { id: rect1; ... }
Rectangle { id: rect2; anchors.left: rect1.right; ... }

...
이렇게 배치된다.
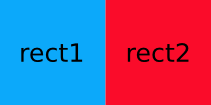
앵커의 다른 조합을 사용하여 원하는 다른 직사각형 배치를 할 수 있다. 크기도 조절할 수 있다.
(0, 0)에 녹색 사각형이 있다. 바로 아래에 파란색 사각형을 정렬해보자.
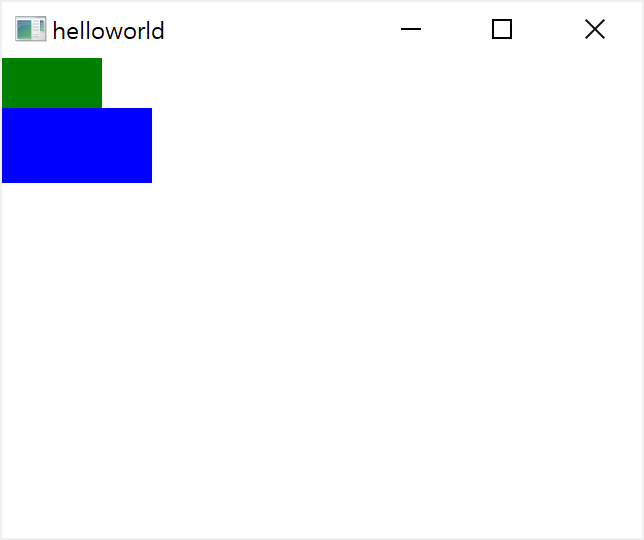
파란색 직사각형의 top 앵커 라인을 녹색 직사각형의 bottom 앵커 라인과 정렬되고 파란색 직사각형의 left 앵커 라인을 녹색 직사각형의 left 앵커 라인이 각각 정렬된다. 다음은 이것을 구현한 코드이다.
...
Rectangle {
    id: greenRect
    width: 100
    height: width/2
    color: "green"
}

Rectangle {
    id: blueRect
    width: 150
    height: width/2
    color: "blue"
    anchors{
        left: greenRect.left
        top: greenRect.bottom
    }
}
...파란색 사각형을 녹색 사각형의 오른쪽에 정렬시켜보자.
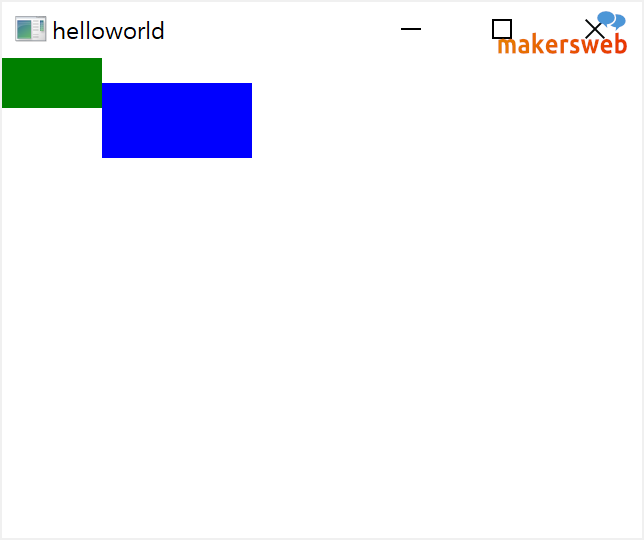
이번에는 파란색 직사각형의 left 앵커 라인을 녹색 직사각형의 right 앵커 라인에 맞추고 파란색 사각형의 top 앵커라인은 정확히 녹색 사각형의 verticalCenter (수직방향 중앙)에 배치한다.
...

    Rectangle {
        id: greenRect
        width: 100
        height: width/2
        color: "green"
    }

    Rectangle {
        id: blueRect
        width: 150
        height: width/2
        color: "blue"
        anchors{
            left: greenRect.right
            top: greenRect.verticalCenter
        }
    }

...여러 아이템들간의 앵커를 지정하여 레이아웃을 제어할 수 있다.
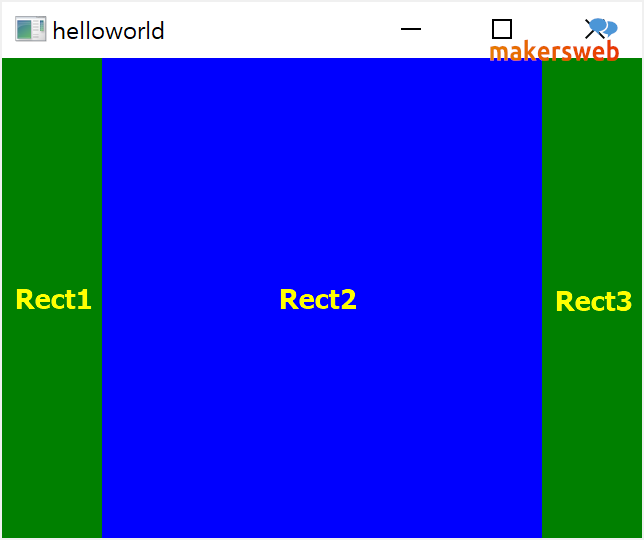
Rect2는 Rect1의 오른쪽과 Rect3의 왼쪽에 고정된다. 윈도우의 크기가 늘어나고 줄어듬에 따라 파란색 사각형이 늘어나고 축소된다.
Window{
    visible: true
    width: 640
    height: 480

    Rectangle { id: rect1; width: 100; height: parent.height; color: "green"; anchors.left: parent.left }
    Rectangle { id: rect2; height: parent.height; color: "blue"; anchors.left: rect1.right; anchors.right: rect3.left }
    Rectangle { id: rect3; width: 100; height: parent.height; color: "green"; anchors.right: parent.right }
}매우 유용한 두개 속성 fill 및 centerIn
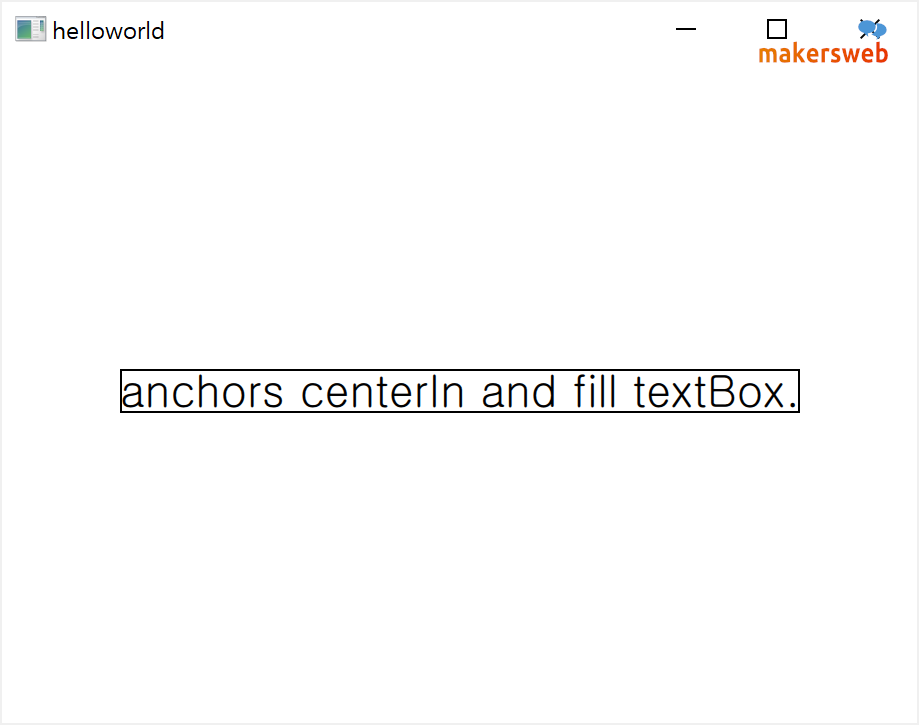
centerIn 을 사용하면 verticalCenter와 horizontalCenter 앵커 조합을 한 것 처럼 완전히 중앙에 정렬된다. fill 의 경우 설정한 아이템의 크기로 완전히 채운다. 즉 대상 아이템의 left, right, top, bottom 앵커를 left, right, top, bottom 로 설정하는 것과 같은 편리함을 제공한다. 일반적으로 verticalCenter 및 horizontalCenter 를 제외한 모든 앵커 라인은 완전히 정렬된다.
...
Rectangle {
    id: textBox
    border.width: 1
    width: textItem.paintedWidth
    height: textItem.paintedHeight

    anchors.centerIn: parent
}

Text {
    id: textItem
    text: qsTr("anchors centerIn and fill textBox.")
    font.pixelSize: 22

    anchors.fill: textBox
}
...아이템간의 앵커에 대해 여백과 오프셋을 지정할 수 있다. 마진은 아이템의 앵커 외부에 남겨둘 빈 공간의 양을 지정한다.
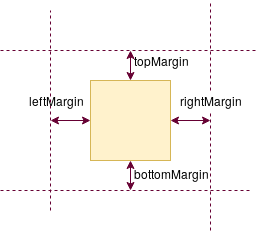
앵커 여백을 설정하여 아이템을 정렬해보자.
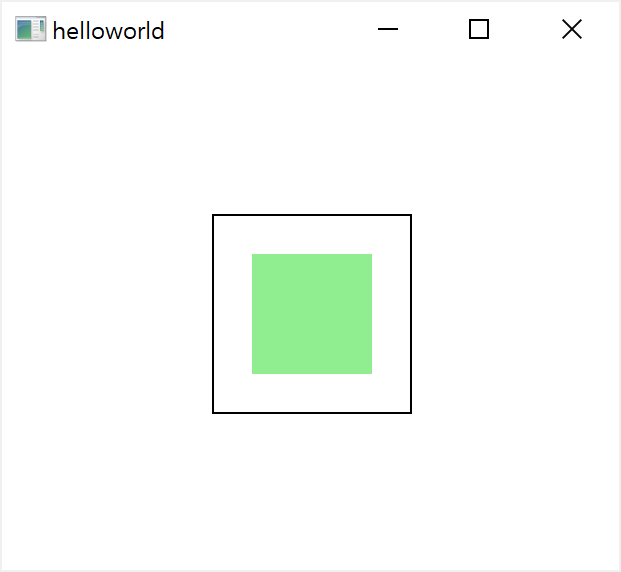
...
Rectangle {
    id: rect1
    border.width: 1
    width: 100
    height: width

    anchors.centerIn: parent
}

Rectangle {
    color: "lightgreen"
    anchors{
        fill: rect1
        topMargin: 20
        leftMargin: 20
        rightMargin: 20
        bottomMargin: 20
    }
}
...옵셋은 중앙 앵커 라인을 기준으로 위치를 조작할 수 있다. 앵커 옵셋은 horizontalCenterOffset, verticalCenterOffset 및 baselineOffset을 사용하여 지정된다.
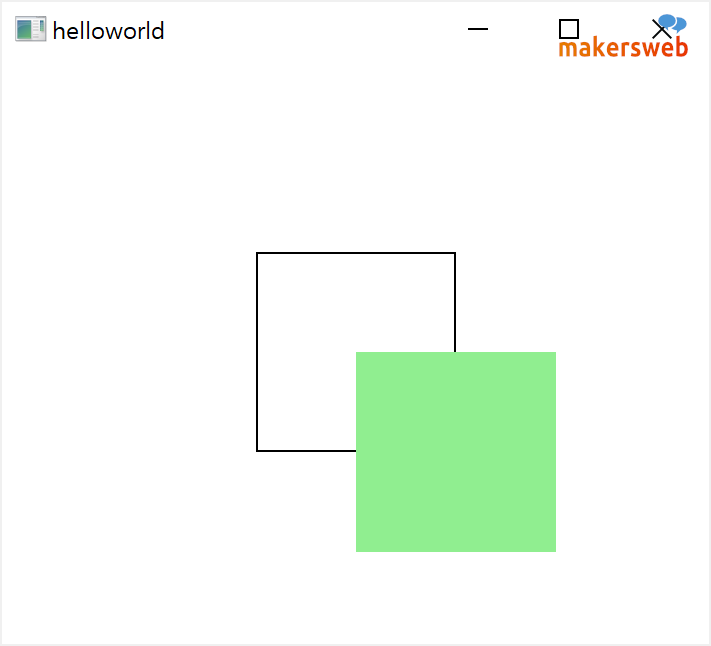
...
Rectangle {
    id: rect1
    border.width: 1
    width: 100
    height: width

    anchors.centerIn: parent
}

Rectangle {
    width: 100
    height: width
    color: "lightgreen"
    anchors{
        centerIn: rect1
        horizontalCenterOffset: rect1.width/2
        verticalCenterOffset: rect1.height/2
    }
}
...