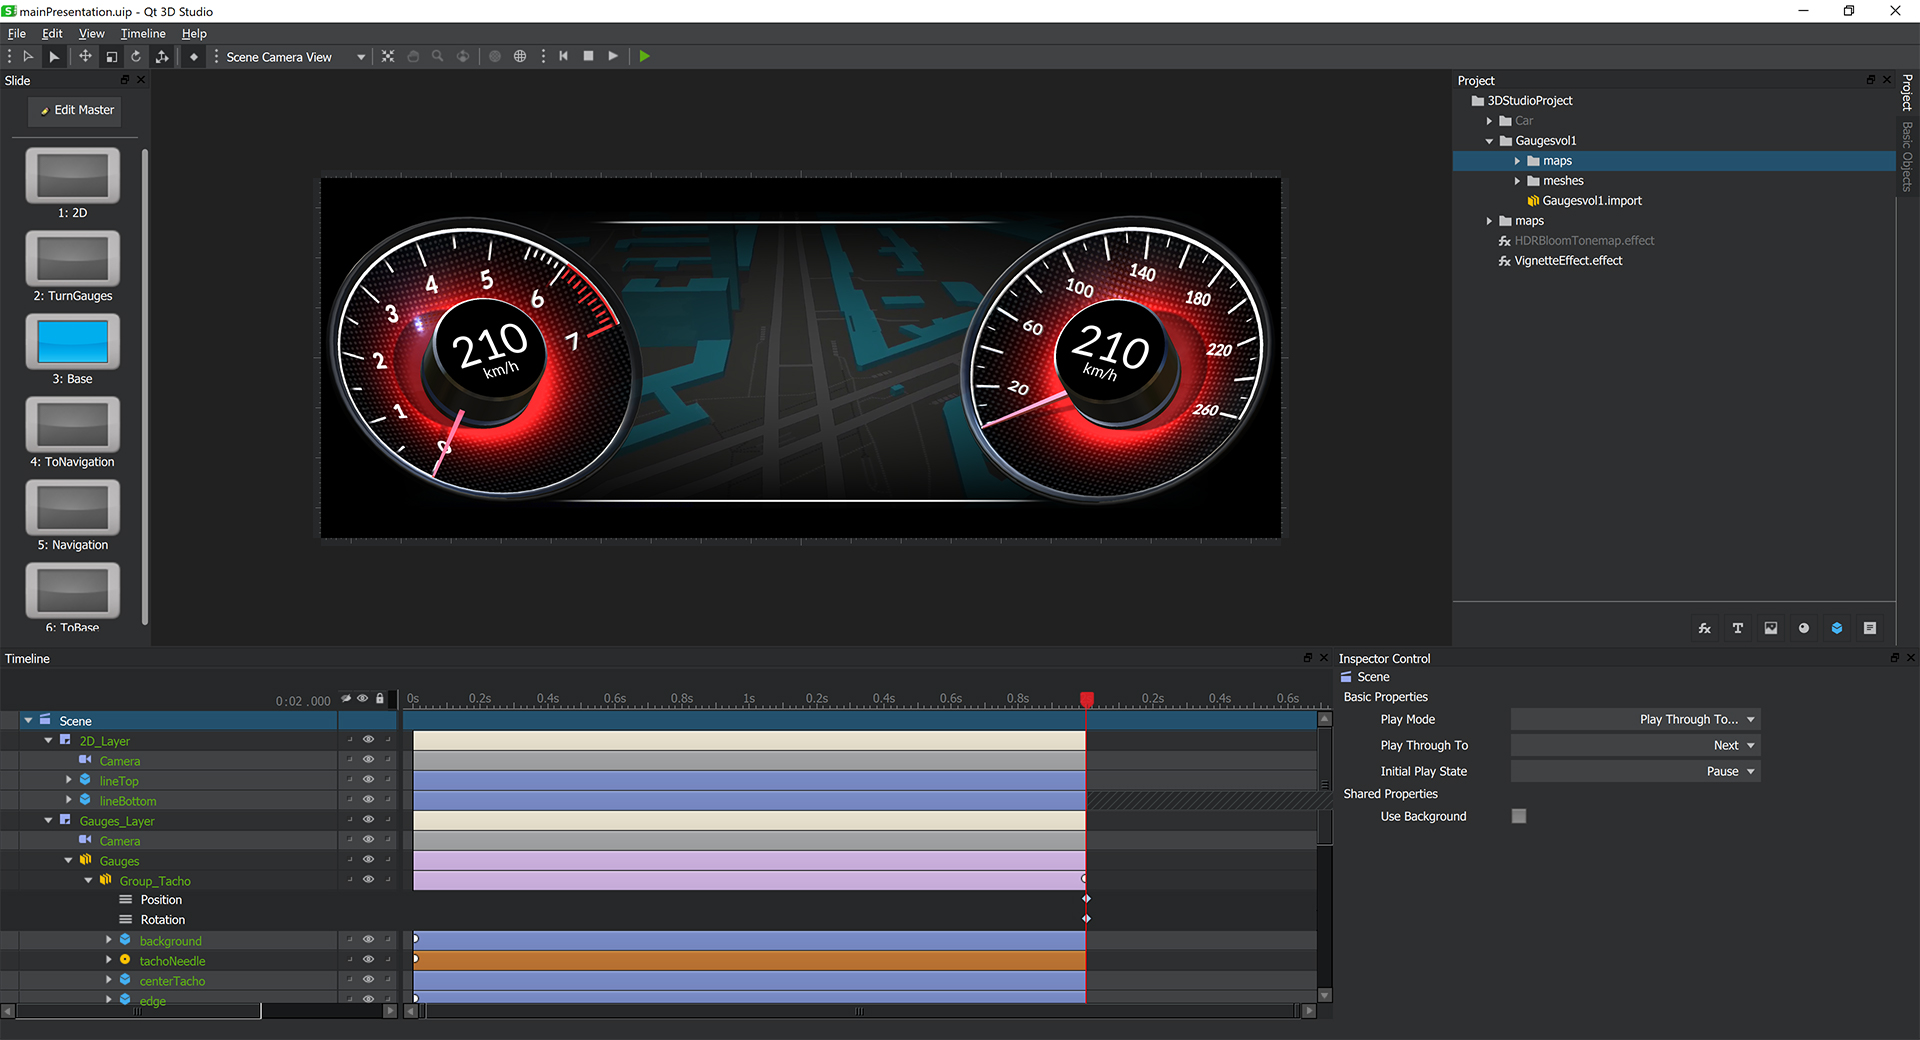
얼마전 Qt 3D Studio 1.0이 정식으로 릴리즈되었는데 간단히 소개하고자한다.
3D Studio는
현대적인 3D GUI를제공하는 어플리케이션을 구현하기위해 3D 디자인 + 소프트웨어 개발을 위한 도구이다.
3D Studio와 함께 Viewer를 통해 실시간으로 3D UI를 확인 할 수 있어서 빠르고 쉽게 개발이 가능하다.
3D Studio는 또 함께 제공되는 다양한 라이브러리 및 Photoshop, Maya, MODO 등에서 모델링된 .dae형식(COLLADA (COLLAborative Design Activity))이나 FBX 파일을 가져와 사용할 수 있다. (Open Source로는 블렌더가 있다!)
또한 QtQuick이나 Qt프레임워크의 다른 모듈과 통합할 수 있어서 어플리케이션 기능 확장도 용이하도록 설계되었다.
지원 플랫폼으로는
현재 1.0 기준으로 Windows, Mac, Linux에서 사용할 수 있는데, 다만 리눅스의 경우 미리 컴파일된 바이너리는 아직 제공되지 않으므로 소스크드를 직접 컴파일해야한다.
2017년 11월에 1.0 릴리즈 이후 2.0 릴리즈를 2018년 5월 경에 할 예정이고 NVIDIA 렌더링 엔진을 탑재하고 새로운 기능과 개선이 있을거라고 한다. 사용자 측면에서는 1.0에서 개발된 산출물을 2.0에서 사용 못하는건 아니라고 하니 안심해도 될듯하다. (2.0에서 Qt3D 기반의 엔진이 탑재)
오픈 소스 사용자의 경우 Qt 3D Studio Editor와 Runtime이 GPLv3 라이센스가 적용된다.
Qt 3D Studio 시작
윈도우즈의 경우 온라인 설치프로그램을 통해 바이너리를 제공하지만 필자의 경우 소스코드를 직접 컴파일하였다.
git이 설치되어 있다면 아래의 명령으로 복제하여 소스코드를 받을 수 있다.
git clone --recursive https://codereview.qt-project.org/qt3dstudio/qt3dstudio
직접 컴파일시에는 빌드지침을 따르도록 한다.
예제 어플리케이션
아래 주소는 위에 보이는 클러스터 예제 소스코드 저장소이다.
https://git.qt.io/public-demos/qt3dstudio.git
몇가지 중요 개념들
Qt 3D Studio에서 프로젝트를 생성하면 .uia파일과 .uip파일이 만들어 지는데 각각 어플리케이션과 프레젠테이션 파일을 뜻한다.
이 두가지 개념은 매우 중요한데 어플리케이션은 프로젝트의 진입점으로 프로젝트의 루트에 오직 하나만 존재하여 아래 여러 프레젠테이션을 참조할 수 있도록 해준다. 아래는 간단한 예제 프로젝트를 만든것인데 .uia파일을 에디터로 열어보면 XML형식으로 작성됨을 알 수있고 .uip 파일 정보를 담고있다.
<?xml version="1.0" encoding="UTF-8"?>
<application xmlns="http://qt.io/qt3dstudio/uia">;
    <assets initial="second">
        <presentation id="second"    src="second.uip"/>
    </assets>
    <statemachine ref="#logic">
        <visual-states>
            <state ref="Initial">
                <enter>
                    <goto-slide element="main:Scene" rel="next"/>
                </enter>
            </state>
        </visual-states>
    </statemachine>
</application>
<?xml version="1.0" encoding="UTF-8" ?>
<UIP version="3" >
    <Project >
        <ProjectSettings author="" company="" presentationWidth="800" presentationHeight="480" maintainAspect="False" >
            <CustomColors count="16" >#ff5500 #ffffff #ffffff #ffffff #ffffff #ffffff #ffffff #ffffff #ffffff #ffffff #ffffff #ffffff #ffffff #ffffff #ffffff #ffffff</CustomColors>
        </ProjectSettings>
        <Classes >
            <Effect id="Corona" name="Corona" sourcepath="effects/Corona.effect" />
            <Behavior id="CameraLookAt" name="CameraLookAt" sourcepath="scripts/CameraLookAt.qml" />
        </Classes>
        <Graph >
            <Scene id="Scene" >
                <Behavior id="CameraLookAt_001" class="#CameraLookAt" />
                <Layer id="Layer" >
                    <Camera id="Camera" />
                    <Light id="Light" />
                    <Effect id="Corona_001" class="#Corona" />
                    <Component id="RoundedCube" >
                        <Model id="RoundedCube_001" >
                            <Material id="Default" name="Default" />
                        </Model>
                    </Component>
                </Layer>
            </Scene>
        </Graph>
        <Logic >
            <State name="Master Slide" component="#Scene" >
                <Add ref="#Layer" />
                <Add ref="#Camera" />
                <Add ref="#Light" />
                <State id="Scene-Slide1" name="Slide1" playmode="Looping" >
                    <Add ref="#CameraLookAt_001" name="CameraLookAt" >
                        <Action id="CameraLookAt-Action" eyeball="True" triggerObject="" event="onPressureDown" targetObject="#CameraLookAt_001" handler="start" />
                    </Add>
                    <Add ref="#Corona_001" name="Corona" />
                    <Add ref="#RoundedCube" name="RoundedCube" >
                        <AnimationTrack property="rotation.x" type="EaseInOut" >0 0 100 100 2.3571 0 100 100 10 0 100 100</AnimationTrack>
                        <AnimationTrack property="rotation.y" type="EaseInOut" >0 0 100 100 2.3571 42 100 100 10 0 100 100</AnimationTrack>
                        <AnimationTrack property="rotation.z" type="EaseInOut" >0 0 100 100 2.3571 56 100 100 10 0 100 100</AnimationTrack>
                    </Add>
                </State>
            </State>
            <State name="Master Slide" component="#RoundedCube" >
                <Add ref="#RoundedCube_001" name="RoundedCube" edgetess="4" endtime="5000" locked="False" pivot="0 0 0" rotation="0 0 0" sourcepath="models/RoundedCube-1/meshes/RoundedCube.mesh" tessellation="None" />
                <Add ref="#Default" locked="False" />
                <State id="RoundedCube-Slide1" name="Slide1" />
            </State>
        </Logic>
    </Project>
</UIP>
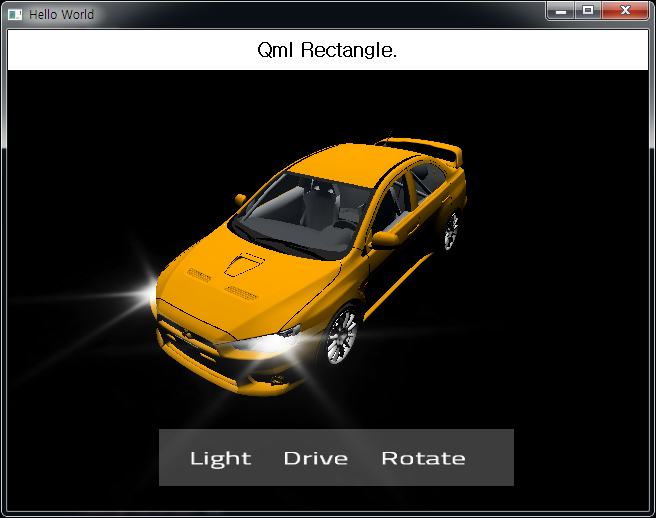
아래 QML코드는 마우스 클릭 시 "second" 프레젠테이션에 존재하는 "RoundedCube"의 Material 요소에 접근하여 색상을 바꾸는 간단한 예제 코드이다.
import QtQuick 2.6
import QtQuick.Window 2.2
import QtStudio3D 1.0
Window {
    visible: true
    width: 640
    height: 480
    title: qsTr("Hello World")
    property bool greenTheme: false
    Studio3D{
        anchors.fill: parent
        Presentation {
            id: cluster
            source: "qrc:/second/second.uia"
            Element{
                id: cubeMaterial
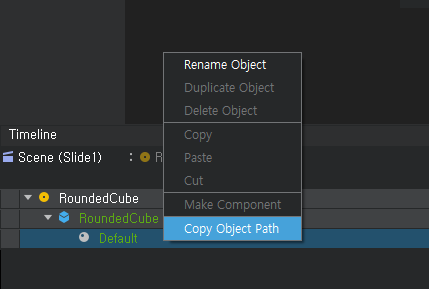
                elementPath: "second:Scene.Layer.RoundedCube.RoundedCube.Default"
            }
        }
    }
    MouseArea{
        anchors.fill: parent
        onClicked: {
            if(greenTheme)
            {
                cubeMaterial.setAttribute("diffuse.r", 1.0);
                cubeMaterial.setAttribute("diffuse.g", 1.0);
                cubeMaterial.setAttribute("diffuse.b", 1.0);
                greenTheme = false
            }
            else
            {
                cubeMaterial.setAttribute("diffuse.r", 0.0);
                cubeMaterial.setAttribute("diffuse.g", 0.666667);
                cubeMaterial.setAttribute("diffuse.b", 0.0);
                greenTheme = true
            }
        }
    }
}

프레젠테이션은 하나 이상의 레이어를 구성하여 만들어 지는데 레이어는 하위 레이어의 내용위에 그려지는 상위 레이어와 합성되어 프레젠테이션의 시각적 결과가 만들어 진다.
